Rain City
Crew Member
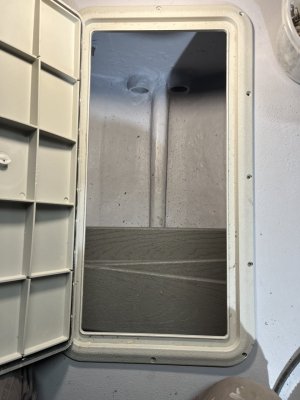
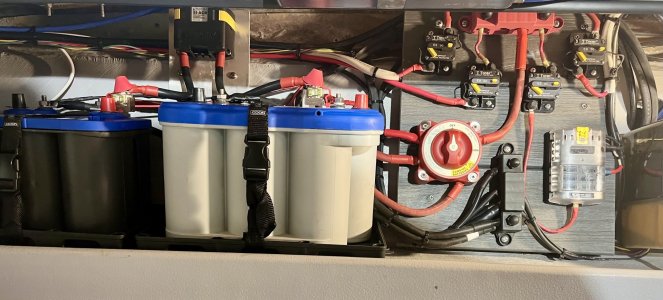
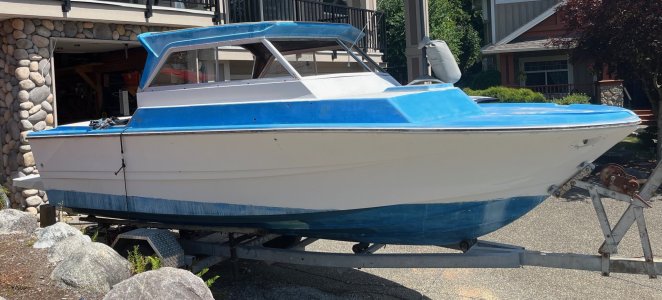
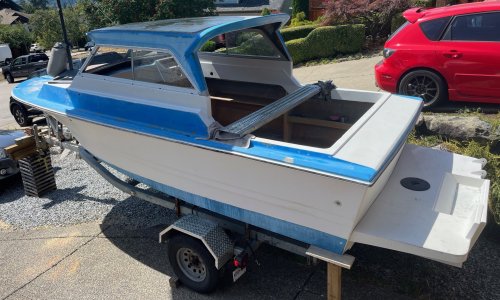
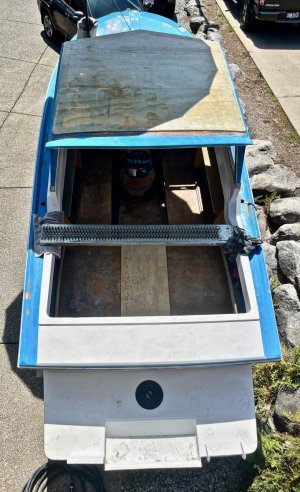
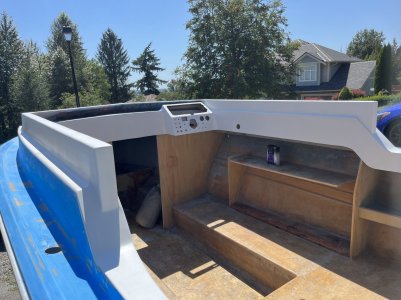
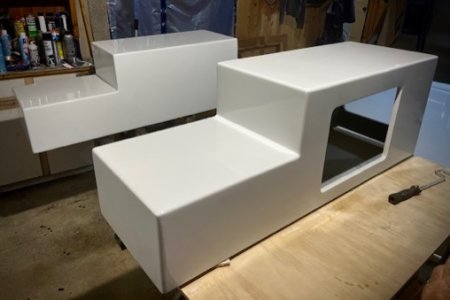
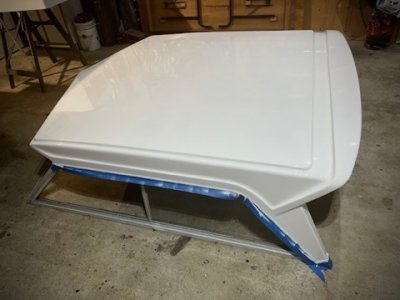
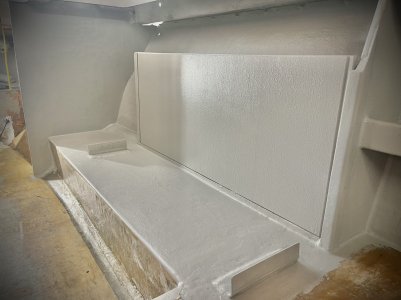
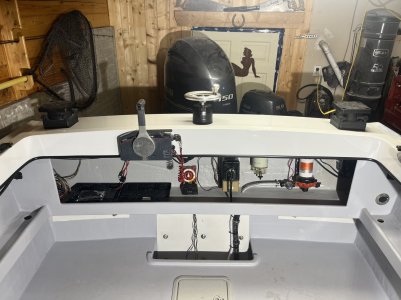
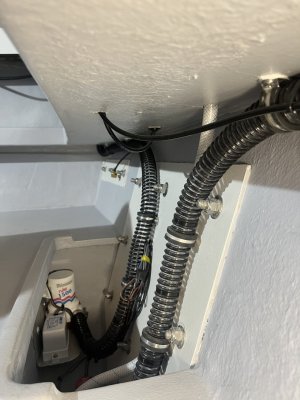
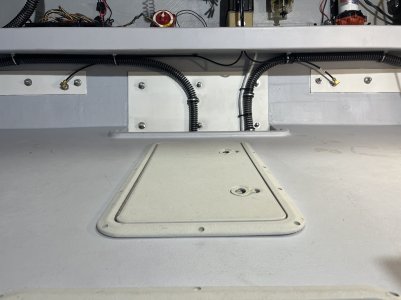
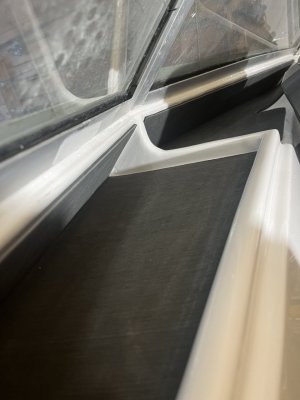
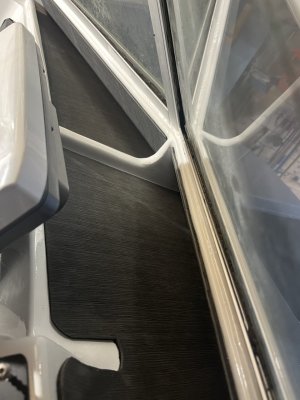
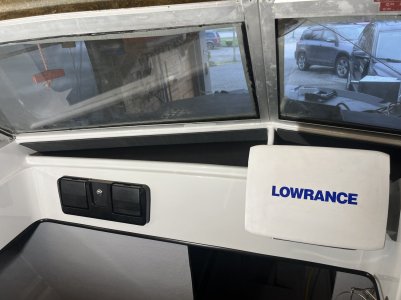
What a nightmare.These are the patterns created when you use epoxy fairing over polyester glass…then gelcoat. The pattern is created after dumping excessive amounts of acetone on the uncured goo in an effort to remove… a stunning nightmare is the result. FML.


 .
.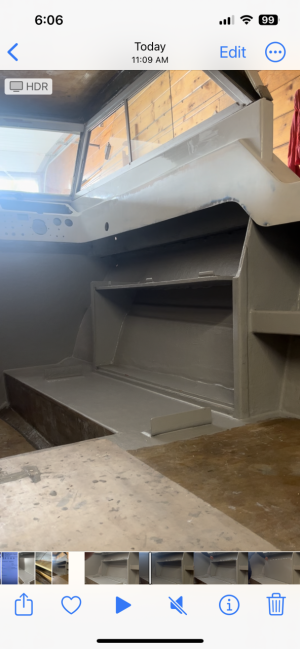
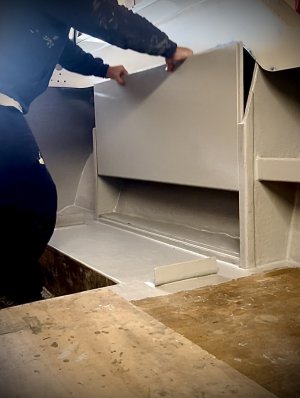
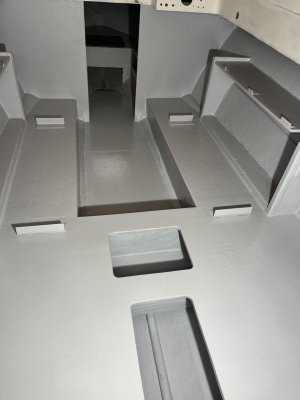
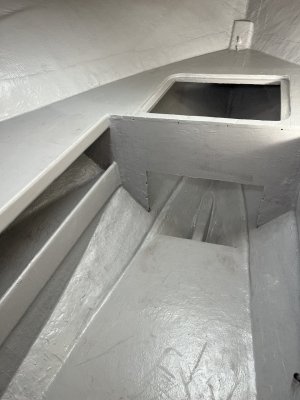
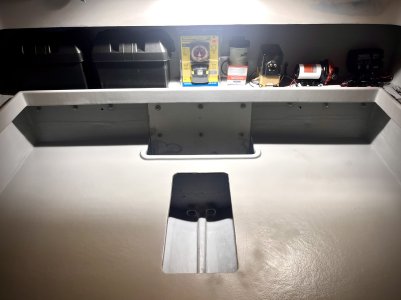
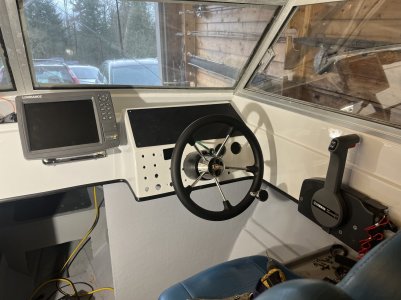
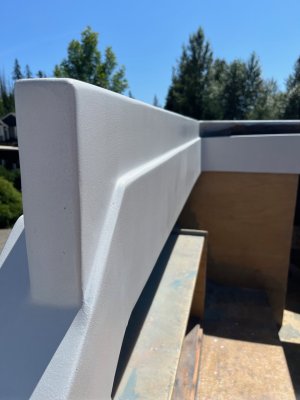
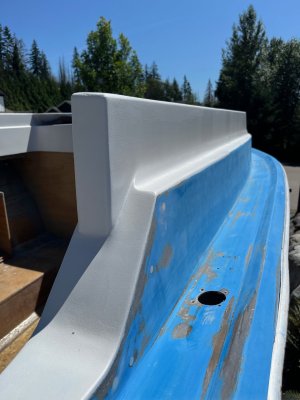
 . Press on….
 .
.