Rayvon
Well-Known Member
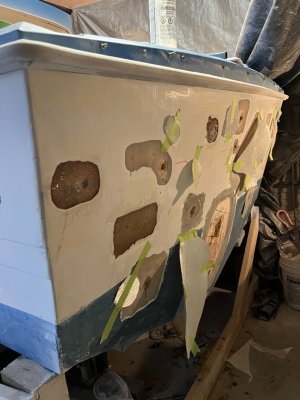
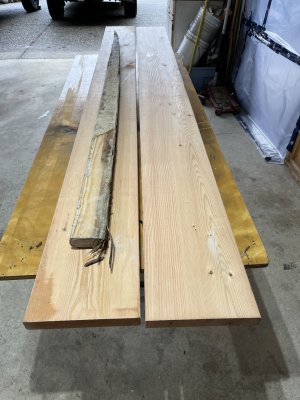
I agree with "Brando"and "daddystoy",once your gutting it go all the way,stringers,transom,rewire,if you plan on keeping it for years.I personally wouldn't go composite,just too pricey.Done right wood will last a life time,Put a layer of glass mat on the stringers after fitting and before installing including the limber/weep holes and they should never get wet again once sealed.Epoxy is a good way to seal against water intrusion,but pricey for the whole job,polyester is fine for 90 % of the job.My 2 cents.
Last edited:

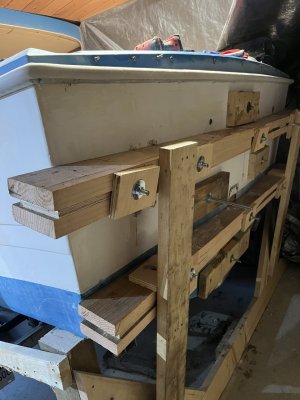
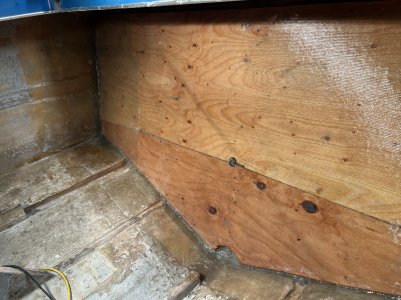
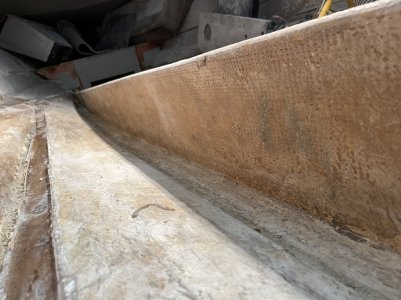
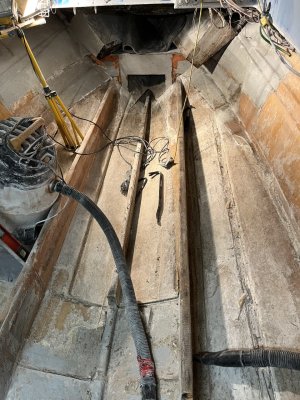
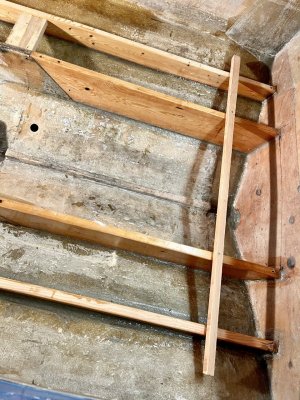
 . Now prepping surface for new layers of ply.
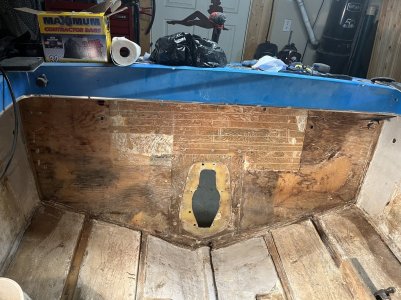
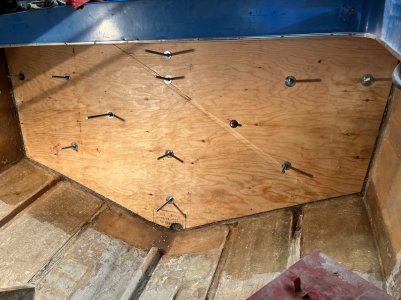
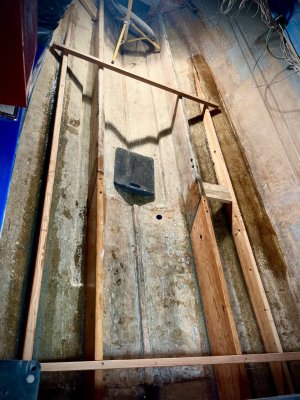
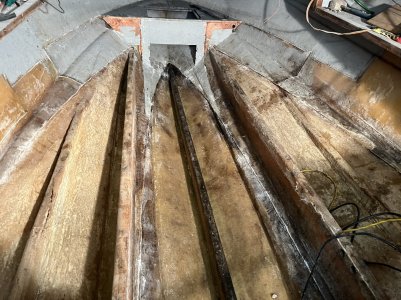
 . Next I’ll tab into sides w/ 1708 before a couple more layers of same… progressively tabbing further.