bryce
Crew Member
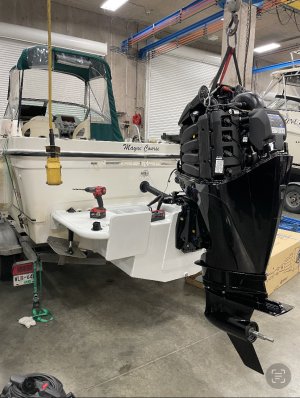
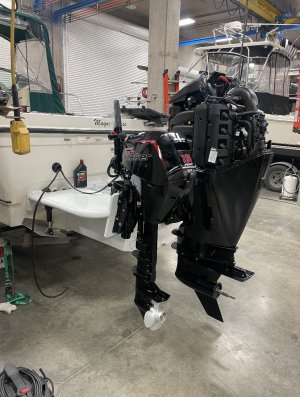
I’ve never seen this before if your transom is flexing enough to need this isn’t there bigger problems or is this just extra precaution? It looks super well built, the whole thingReinforced well too… View attachment 89770
I’ve never seen this before if your transom is flexing enough to need this isn’t there bigger problems or is this just extra precaution? It looks super well built, the whole thingReinforced well too… View attachment 89770
It’s basically just extra reinforcing, transom was 2” thick no signs of rot at all. My pod guy has done it on the last few, the engineer says to do it as it ties into where the old motor mounts were. In reality prob not required but I’d rather have it solid as possible. One of the guys in this forum who builds pods (I think Brando) he recommended to do this as well.I’ve never seen this before if your transom is flexing enough to need this isn’t there bigger problems or is this just extra precaution? It looks super well built, the whole thing
Why the bolted strut though? Is that for easier install? Is that part measured after the bases are installed? Looks badassIt’s basically just extra reinforcing, transom was 2” thick no signs of rot at all. My pod guy has done it on the last few, the engineer says to do it as it ties into where the old motor mounts were. In reality prob not required but I’d rather have it solid as possible. One of the guys in this forum who builds pods (I think Brando) he recommended to do this as well.
I think the main purpose for that was that there’s bushings inside there, can’t remember exactly what material they’re made of, super strong and provides a bit of flex under load if needed.Why the bolted strut though? Is that for easier install? Is that part measured after the bases are installed? Looks badass
Same shop yeah, Adventure Marine. Looking forward to seeing the finished resultLooks great! Did the same shop do the skip top frame too?


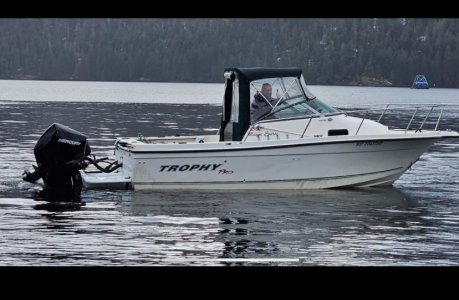
I saw that too, maybe cause it’s the XXL 25” shaft? Might have to move it up a couple bolt holes, who knows maybe they already made the adjustment. I told them to send me the first pic of it in the water!!The picture on the water running looks like the kicker might be dragging a little low in the water while tilted up
A custom ss removeable mesh over them will prevent thatWith the cutouts for scuppers and trim actuators you’ll find when your rolling around in a beam sea or on your stern that the waves push up underneath the deck and it acts like a “gizer” nice feature in the summer but a little chilly in the winter months lol the kicker will be fine once your up on step
I wouldn’t worry about it too much; mine sits similarly and only drags a bit getting up on step. I was advised to leave the kicker in gear for this reason because letting the water spin the prop isn’t a great idea.I saw that too, maybe cause it’s the XXL 25” shaft? Might have to move it up a couple bolt holes, who knows maybe they already made the adjustment. I told them to send me the first pic of it in the water!!
Nah she’s in already. Plus I used to have the issue of the kicker glugging a bit over waves with the 20”, so the longer shaft won’t have that, not that’s a big issue, but mehToo late to switch to a 20" leg kicker?
You cut off that lip, very good to see, many leave it and don't take the time or cost to flatten the floor. Looking great all around.See pics that plywood is temp, gonna do decking with UltraDeck on it (and the pod)
View attachment 90212View attachment 90213View attachment 90214
Yeah that was a real pain in the arse task all around, not so much cutting it out but creating a recessed lip for the filler plate to sit flush. It’s not perfect, it’s “custom” but should look pretty decent all finishedYou cut off that lip, very good to see, many leave it and don't take the time or cost to flatten the floor. Looking great all around.