
You are using an out of date browser. It may not display this or other websites correctly.
You should upgrade or use an alternative browser.
You should upgrade or use an alternative browser.
What Did You Do To Your Boat This Week?
- Thread starter Stizzla
- Start date


seabeyond
Well-Known Member
What's the damage on those/ where are they made? Wouldn't mind getting rid of my scotty rendition.
Rain City
Crew Member
Fancy
MRWood
Well-Known Member
Did Pat show you that trick

Srthomas75
Well-Known Member

I did some trailer maintenance. I noticed that I was down a wheel when I got home last time out. ( 10 min drive to the ramp ).
New bearings, brakes, hub etc.. were due.
( I even found the wheel along the highway )
Derby
Crew Member
All in not sure but over a g note Im guessing.. the rack was custom.made for me in Parksville and happy to pass that info along. The rod holders were a new design that has just came outWhat's the damage on those/ where are they made? Wouldn't mind getting rid of my scotty rendition.
")
Last edited:
Derby
Crew Member
Needed a better system when fishing the 3rd rigger and what I had worked but not what I needed. So it was a combo of Pats system and what I could make happen with what I have with my grady to work with.(Pats boat is rigger pretty sweet) So now I can fish 3rd rigger with very little gear messes or a 5th rod for hali or dump extra gear out for tuna or when u are getting weeded out.Did Pat show you that trick
Last edited:
MRWood
Well-Known Member
Very niceNeeded a better system when fishing the 3rd rigger and what I had worked but not what I need. So it was a combo of Pats system and what I could make happen with what I have with my grady.(Pats boat is rigger pretty sweet) So now I can fish 3rd rigger with very little gear messes or a 5th rod for hali or dump extra gear out for tuna or when u are getting weeded out.
 .
.
Stizzla
Crew Member
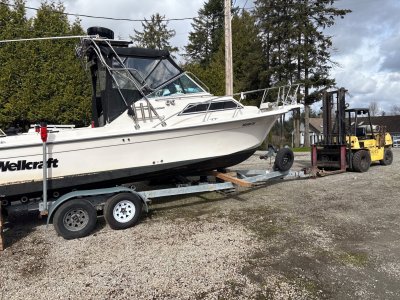
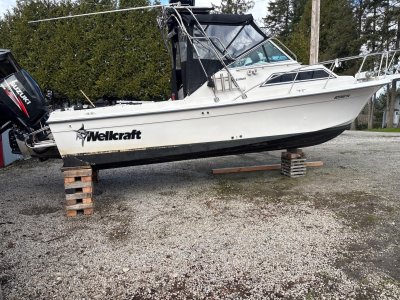
Bada$$ tubPut it on blocks lol, bottom paint next weekend
Now that the Marina's water is on, I spent a few hours Sunday cleaning the bird and otter crap off the boat's exterior.
We have covered moorage and two folks on our dock had critters get into their boats over the winter, crap everywhere,and then chew up their wiring and upholstery.
I check our boat weekly pretty well every week during the slow season. Some folks don't check their boat all winter
I just don't undertand that. Next year I am going to log my visits for insurance purposes.
Rain City
Crew Member
The marina will have your fob scan data.Now that the Marina's water is on, I spent a few hours Sunday cleaning the bird and otter crap off the boat's exterior.
We have covered moorage and two folks on our dock had critters get into their boats over the winter, crap everywhere,and then chew up their wiring and upholstery.
I check our boat weekly pretty well every week during the slow season. Some folks don't check their boat all winter
I just don't undertand that. Next year I am going to log my visits for insurance purposes.
Spent the weekend getting some electronics installed. HDS-9 mounted overhead at the helm (didn't get a pic of that one), and the autopilot kit is wired up. Ran a few extra NMEA 2000 lines for future expansion. Stopped short of hooking up the hydraulic lines - that'll be next Saturday.

Does anyone have any tips on the hydraulic portion? I've never messed with hydraulics - have watched the videos and read the instructions so I understand the general process. Just would like to make the least mess possible in the process, and hopefully get the bleeding right the first time.
The hydraulic lines are about 6" longer than would be ideal - Not sure how I'm going to get them hooked to the helm without having a bit of a droop/bend somewhere.
Attachments
I apply Critter Ridder all around
my dock and boat in False Creek . It seems to be working after having a family of them around .
I am thinking there must be two types of Critter Ridder. I don't think our Marina would take too kindly to me arranging to have repellant and water sprayed everywhere


SpringFever2359
Well-Known Member
Not quite sure what I've got myself into 
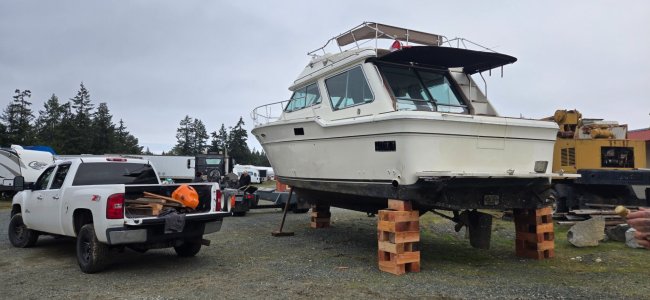
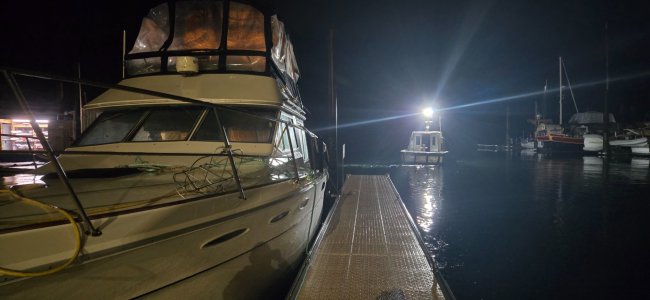
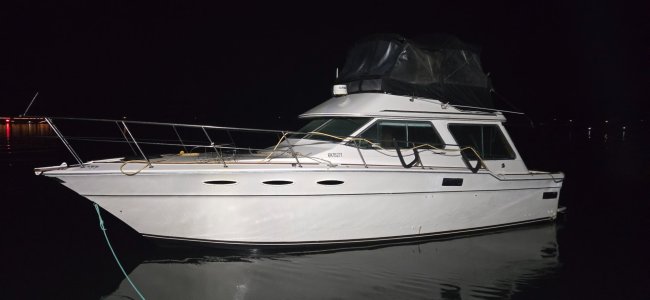
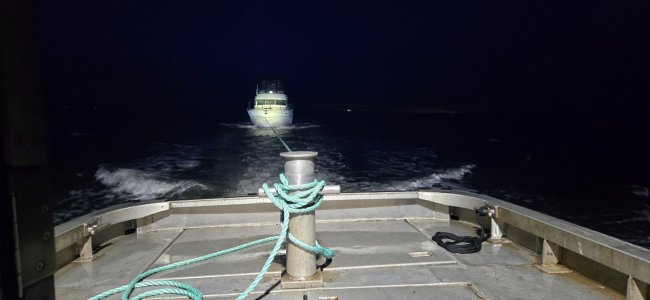
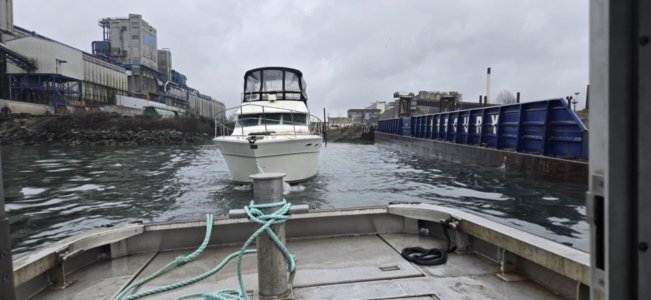
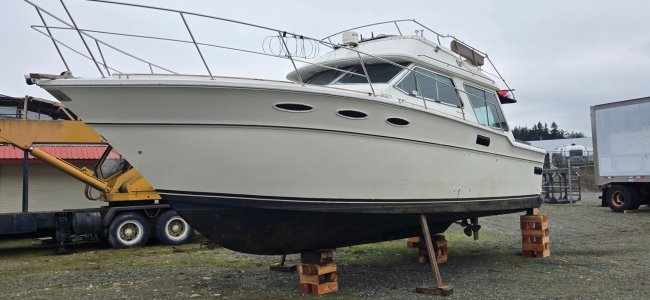
Went in 3 ways and bought this Searay 355 with my son and his best friend,a second son to me for literally dollars, kids diver friend scrappedI/inspect hull best he could at the BYC where it's been house boat kept, all good so fk it lets do this lol
Son got the use of a small tug from his work and we towed it across on Monday night from Roger's Street (Van) where he had moved it, to Brecan ramp, towed to hard in Parksville.
Thing is pristine, dry and clean, all systems work as they should EXCEPT 1 thing, the detroit main has antifreeze in a port side cylinder which we knew.
Looking to repower with a lehman, ,maybe a cummins have 1 of each lined up. Machinist came looked today and will cnc everything needed to swap in either engine we go with.
we'll get that dome once we decide which engine we're going with.
God help us!! Lol
Attachments
-
 20250325_145605.jpg286.2 KB · Views: 116
 -
 20250324_223848.jpg210 KB · Views: 119
 -
 20250324_220352.jpg131 KB · Views: 117
 -
 20250324_200616.jpg168.2 KB · Views: 120
 -
 Messenger_creation_D066E05D-1D0A-48BA-B942-72CB151AC005.jpeg199 KB · Views: 123
 -
 Messenger_creation_DC399654-7FEC-461C-A4A7-E00928457596.jpeg230.9 KB · Views: 121
 -
 20250325_153719.jpg278 KB · Views: 120
Rated-R
Member
The Detroit is a 8.2t fuel miser, They are notorious for head gasket issues due to the small sealing surface areas around the cylinders. If feel cost wise we could be into the Detroit for just as much as putting a better engine in it.fix up the detroit
noluck
Well-Known Member
crap, i figuired it had a series 60The Detroit is a 8.2t fuel miser, They are notorious for head gasket issues due to the small sealing surface areas around the cylinders. If feel cost wise we could be into the Detroit for just as much as putting a better engine in it.
Rated-R
Member
Yeah I wish it had a 471 or 671.crap, i figuired it had a series 60
Similar threads
- Replies
- 37
- Views
- 3K
- Replies
- 10
- Views
- 1K
- Replies
- 20
- Views
- 2K
- Replies
- 6
- Views
- 905