What Did You Do To Your Boat This Week?

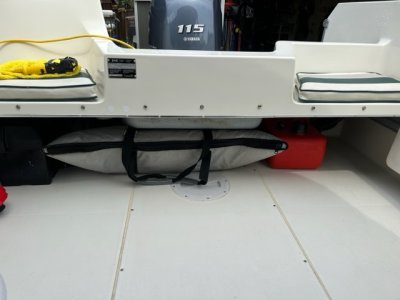
After hearing some advice from folks re:separate tanks, I tinkered during nap time. Figured I can add 6 extra gallons (+19% increase in range), from two tanks to run my kicker. I still have space for my kill bag as well and my toes do not touch either when I’m standing against the motor well. I would need to get some quick connections installed on my fuel/water separator&fuel lines so I could connect my main or kicker to either main fuel or portable fuel. More money out the window but More better.

IMG_6913.jpeg
 
It turns out that my existing tanks were pretty much brand new looking after 30 years. Can’t put a price on peace of mind I guess. The Commander had aluminum tanks that were surrounded in 1/4” of glass and then foamed in. It was really difficult to get them out. I wasn’t sure the best route for installing the new ones but after some research and talking to a few local guys I have decided to not foam. I have cut 1/4” thick rubber pieces and have essentially created a sikaflex gasket in between the rubber and aluminum. I read reports that rubber can mess with aluminum so this way it isn’t touching . The tank will have an air gap on all sides and will be sitting on rubber on all surfaces that are touching the glass. I’ve decided to add a drain to the area that the tank sits in just incase. I wasn’t confident that the area near the back where the fuel pickups are could be 100% sealed so my options were fully foam again which would have been nearly impossible or add a drain to the area. The tank will also have a 4” gap under it from the bottom of the tank to the bottom of the floor so if water somehow got in, it won’t touch the tank.
 

Attachments

  • 7FC2E087-9152-4992-9E3B-5AF49ABE19CE.jpeg
    7FC2E087-9152-4992-9E3B-5AF49ABE19CE.jpeg
    278.1 KB · Views: 57
  • 89BFFF2C-4319-4CCF-B594-378AA5154B53.jpeg
    89BFFF2C-4319-4CCF-B594-378AA5154B53.jpeg
    267.3 KB · Views: 57
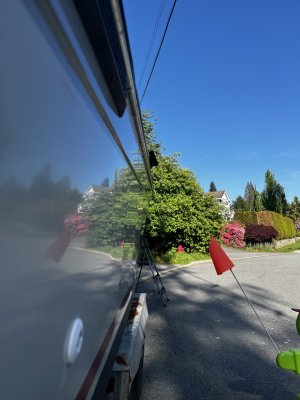
I had the good folks from Dustless Blasting Canada come in and strip several layers of old bottom paint. They did a great job! I applied Interprotect followed by Micron CSC. Almost ready to launch!
 

Attachments

  • 20230510_082108.jpg
    20230510_082108.jpg
    327.1 KB · Views: 113
I had the good folks from Dustless Blasting Canada come in and strip several layers of old bottom paint. They did a great job! I applied Interprotect followed by Micron CSC. Almost ready to launch!
I have bottom paint on my boat but never moor it.. I'm thinking that when my bottom paint is starting to get ugly I'd rather have it removed than reapply, is it possible to have this procedure done and restore the gel coat?
 
I have bottom paint on my boat but never moor it.. I'm thinking that when my bottom paint is starting to get ugly I'd rather have it removed than reapply, is it possible to have this procedure done and restore the gel coat?
I haven't done this but would say yes. After blasting the bottom has the equivalent of 80 grit sanding so it would need some work. Perhaps a 2 part paint.
 
Full 300hr service completed on all three engines today! Water pumps were much easier than I thought! Glad I bought the service manual for the big engines! End of last year I notice that the port side engine was idling much colder than the str board engine engine. After replacing the thermostats I tore the old ones apart and sure enough found a small chuck of wood holding open the port side! Glad I solved that mystery! Winter harbour here we come next weekend!
 
There were no blisters (vinylester) so Interprotect recommends a minimum of one coat as the primer over fiberglass but I applied two. For osmotic protection, use 6 coats. Then I applied 2 coats of Micron CSC antifouling. Total 4 gallons used for over $1,000.00 total plus wash down solvent and painting supplies. The total job was about $5,500 plus labour (mine).
 
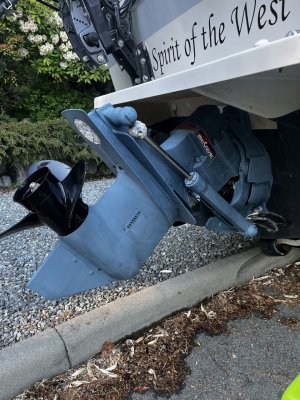
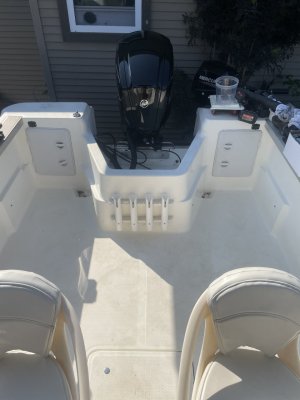
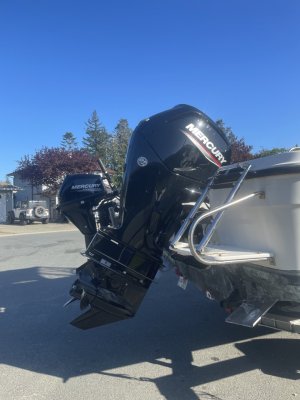
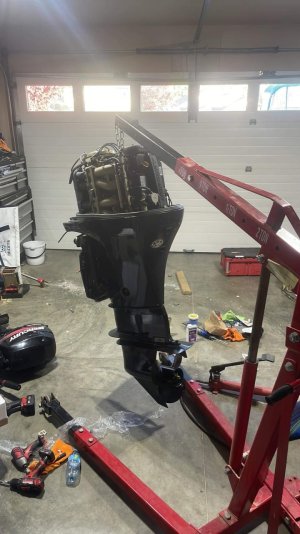
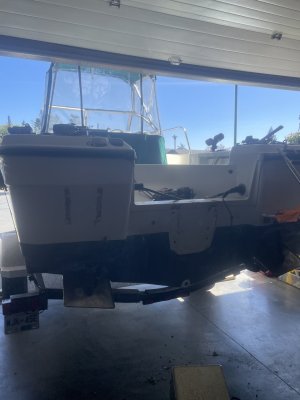
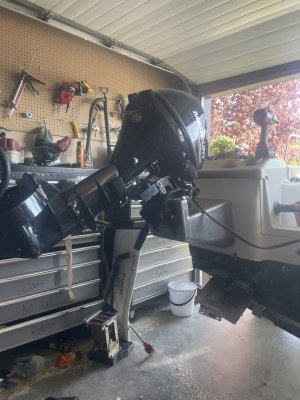
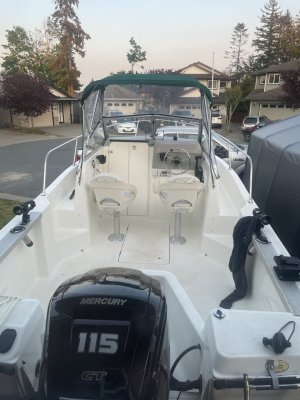
Got lots done on my new to me Trophy 1802 this past week. Removed the 05 115/ 05 9.9 replaced with my 2022 115 CT and 2020 8hp. old kicker bracket removed, new fixed bracket installed, kicker installed, all wired up, some gel coat repairs ect ect, coming along will be ready to hit the water by this weekend! Tight working in my garage but happy with the outcome.
 

Attachments

  • 9E14AA69-58AB-4DB8-B2C7-EA578262F92D.jpeg
    9E14AA69-58AB-4DB8-B2C7-EA578262F92D.jpeg
    143.6 KB · Views: 97
  • CA69CDEB-723D-461A-B7A0-600B7107779A.jpeg
    CA69CDEB-723D-461A-B7A0-600B7107779A.jpeg
    172.6 KB · Views: 94
  • DE3845D9-72F8-4C3C-8A78-0668A4F79ACE.jpeg
    DE3845D9-72F8-4C3C-8A78-0668A4F79ACE.jpeg
    155.9 KB · Views: 93
  • 791B1FAD-A3F4-45F5-A0BF-1DE10DDAA58D.jpeg
    791B1FAD-A3F4-45F5-A0BF-1DE10DDAA58D.jpeg
    128.1 KB · Views: 96
  • F87CF29B-B65D-49EA-83A2-B17872600623.jpeg
    F87CF29B-B65D-49EA-83A2-B17872600623.jpeg
    234.7 KB · Views: 95
  • 9C9F6447-AE2A-4BE8-8401-1FB736CD5CC9.jpeg
    9C9F6447-AE2A-4BE8-8401-1FB736CD5CC9.jpeg
    203.1 KB · Views: 99
Got lots done on my new to me Trophy 1802 this past week. Removed the 05 115/ 05 9.9 replaced with my 2022 115 CT and 2020 8hp. old kicker bracket removed, new fixed bracket installed, kicker installed, all wired up, some gel coat repairs ect ect, coming along will be ready to hit the water by this weekend! Tight working in my garage but happy with the outcome.
You will love that command thrust version, great choice.
 
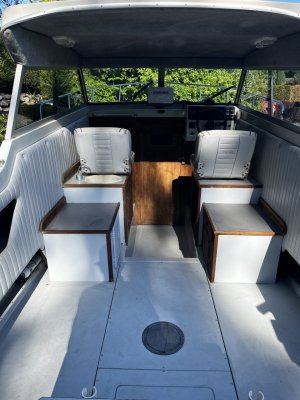
Well I’ve probably prepared my boat more for this season than any other before. The last month has been filled with upgrades, as last season when I bought the boat right at the start of summer I didn’t have time to do any of this.

- Started with a full overhaul on the engine, doing everything short of rebuilding it
- Fixed the autopilot
- Ripped out a bunch of rotten teak laminate
- Painted marine ply to redo the damaged cabinets (just as a stopgap until next fall where I’m going to redesign the interior a little)
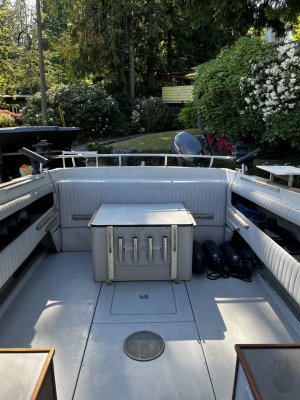
- Cleaned and organized the whole boat, just throwing away so much useless stuff that the previous owner had stashed away in all the compartments
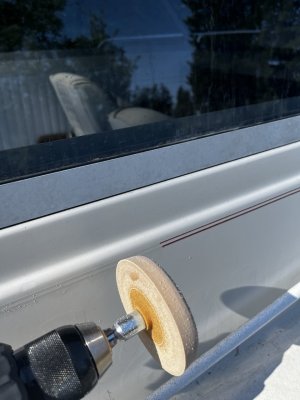
- Removed fading pinstripes from the transom and cabin
- Got the super chalky gel coat cut and polished
- New bottom paint all over
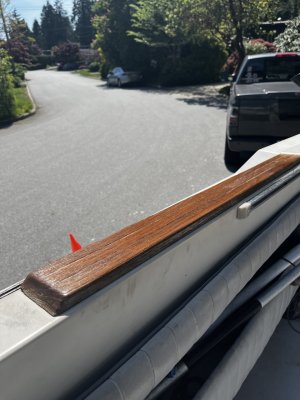
- Sanded and oiled almost every bit of teak in the boat, still have to do the rear bench supports
- I am currently having the rear bench seat reupholstered and a new slope back canvas with a rear window made up
- Electric Bennett tabs go on next week

Probably a bunch more stuff that I’m forgetting but I’m super happy with how it’s looking and feeling confident about less annoying issues this year (knock on teak).

Before:
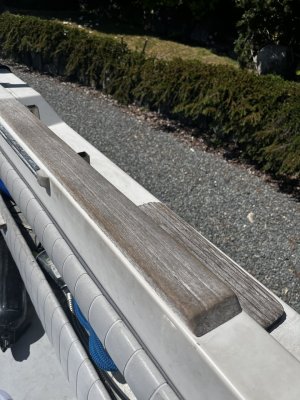
5640C934-9254-4BA5-9C1D-EAA5B692FEF7.jpeg
After:0AB0585D-393E-4677-9352-85F62ED44B09.jpeg
1D5DE264-AF8F-4B7C-8893-61BBD2A09619.jpeg6EC4603A-23C0-4981-BDC6-C2F9121B116F.jpeg03F45A79-EEF4-4C7E-89CA-CCBC42D4F3D2.jpeg83D5DBB2-F218-4447-AEA5-9D5D30E8FA19.jpegB6FC20CF-824C-4D69-BFD3-1E102BBB325B.jpeg
 
Last edited:
Pulled the boat and removed the "hydrofoil SE4000" that I bought last week.It had no positive effects on the boat at all,just screwed up how it steered.Raised the motor up one hole ,it seemed to be too low,not performing as I'd like.We'll see if that helps when the wind goes away.Next try will be a different prop.I'm only getting 5300 RPM out of the 225 Yam WOT.Anybody have a slightly lower pitch than 17 for a Yamaha?
 
Starting to make some headway on the new double eagle. Removed the hard top and had new canvas made. Had all new glass installed, made new dash panels and rigged up the dash. Removed the 120 evinrude and got the transom ready for the new motor next weekend. Still lots to do but getting there!
 

Attachments

  • IMG_6894.jpeg
    IMG_6894.jpeg
    428.5 KB · Views: 76
  • IMG_7030.jpeg
    IMG_7030.jpeg
    243.3 KB · Views: 79
  • IMG_7057.jpeg
    IMG_7057.jpeg
    308.6 KB · Views: 75
  • IMG_7201.jpeg
    IMG_7201.jpeg
    320.8 KB · Views: 76
  • IMG_4038.jpeg
    IMG_4038.jpeg
    403.9 KB · Views: 77
  • IMG_7149.jpeg
    IMG_7149.jpeg
    323.2 KB · Views: 80
Back
Top