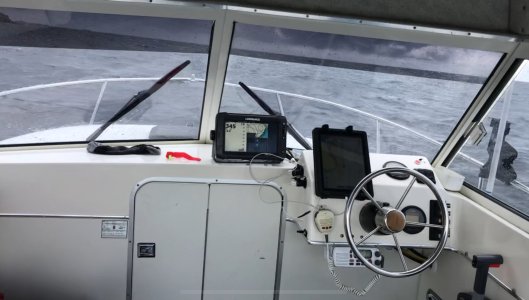
Installed zipwake and finally had a break in the weather to get out and try them.
The old trim tabs original to my boat were slow reacting and were needing repair.
First reaction to zipwakes was it will take some getting used to not having to work my trim tabs. Keeps the boat level and the roll is gone.
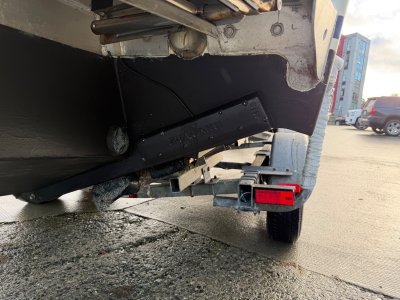
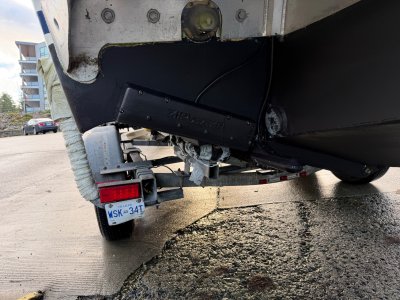
Opted to not do a below waterline install of thru hull for wires, already had holes from the old trim tabs above the bracket
Also tried a newer set of props on my boat. Mercury rev 4xp. These are regular rev4’s reworked by mercury racing. Great top end speed hit my wot numbers but did notice a bit more grunt to pop out of the hole. Went from 17 to 20 pitch( rev4xp generally gain 300 rpm over the same pitch in a rev 4)
When I say grunt, 99% of people would not notice and this is hammering it to get on step.
mpg went from 2.1 to 2.5 at cruise this is a combination of of zipwakes and prop pitch. Going to get my 17’s re-pitched to 18.5 and balanced.


")