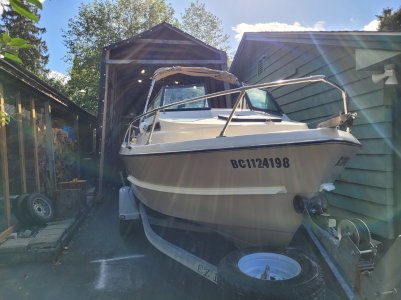
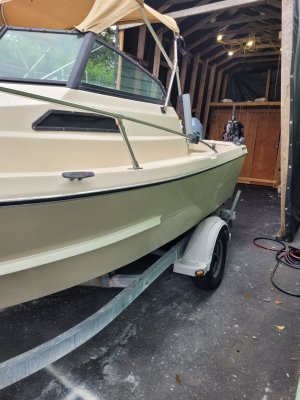
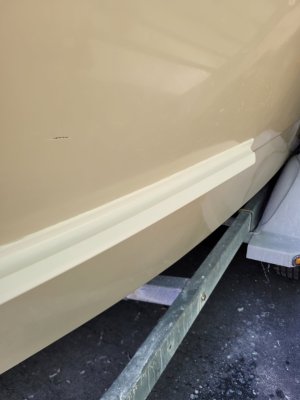
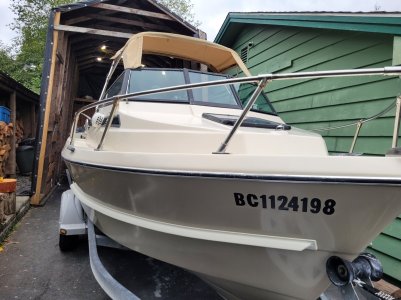
Just an update for everyone who provided advice, or for anyone that may see this thread in the future and benefit from whatever I managed to learn along the way. Last weekend I finished up compounding, polishing, and waxing - topside and transom included. It was a LOT of work, but I'm glad I did it because I learned plenty along the way and the starting point this gelcoat was in probably would have cost me thousands to have a pro do. Definitely not a perfect job, and there are still plenty of things to fix, but she looks a lot better in my opinion.
Basic process was -
- wet sanded the sides, bow to stern, rub rail to lower chine, by hand. There were too many scratches from over the years to be just compounded out. Did it need to be wet sanded due to oxidation? Maybe, maybe not - but there were so many scratches that needed to be sanded out it was "easier" to just do the whole hull. This was definitely the most time consuming part, and I messed up a few places in the process. One or two spots where I got too aggressive with the grit and the resulting scratches still show under the right light/angle. And a couple small spots where the gel was thin and I can now see through. All of this will need further attention over the winter/spring, as will the scratches and gouges that were simply too deep to sand out. I always knew gelcoat matching and filling was in my future, and it still is.
- Top side was not nearly as scratches, so I did a heavy compound, followed by polish and wax. I had no idea how much product was needed, and stores either ran out or were closed so I ended up switching compounds from 3M Heavy to Meguiar's 49 Oxidation Remover part way through. Can't really tell the difference in the end result. Polish was all Meguiar's 45, and wax was all Meguair's Flagship. I'm sure there are better products for all steps I could have used, but these were what I could get my hands on locally in the quantities I needed.
- For tools, as I said I did wet sanding by hand. I realize I could have used an air tool to speed things up, but being completely new to all this figured that was risky. As mentioned above, I had a few "lessons learned" even with the hand sanding. Power tools would have amplified those. I got a King Canada 7" rotary adjustable speed buffer from KMS Tools and used that for compounding and polishing in all areas where there was enough room for it to be practical. Used Presta pads. If you're in Nanaimo, KMS actually has a pretty good selection of detailing stuff. Definitely a learning curve on this tool too - it can get away on you quick, especially at higher speeds. And holding that thing up all day definitely felt it in the shoulders and upper back. For tighter areas, I got a Ryobi battery operated right angle drill, with a cheap 5" pad from Crappy Tire. For super tight areas where even that didn't fit, I worked the materials by hand. The dashboard/cockpit area, and the transom where the most finicky to deal with - working around my swim ladder, trim tabs etc.
Now I need to work on my gelcoat repair skills as a next step. I have chips, gouges, and deep scratches, and at least one spider cracking from a clumsy downrigger ball retrieve to deal with on the outside and gunnels. Holes and stress cracks on the inside. I also plan to paint the dancefloor this winter (thinking Kiwigrip), as well as put a fresh coat of pain on all the wood panels in this Arima. Plenty to keep my busy in the off season!
Once I do the gelcoat repairs, I think going forward it will have a good base line that hopefully I can maintain just with regular polishing and waxing, or where a mobile detailer could give it a good once over a couple times a season without breaking the bank.


