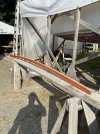
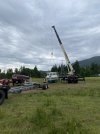
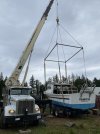
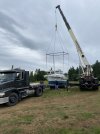
Was sitting too low to the ground for the boat mover to get under it so I had to get a crane to load it. Overall it went very smooth. Great guys to work with!
Attachments
Last edited:
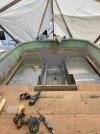
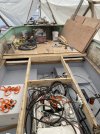
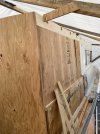
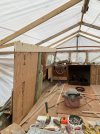
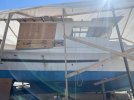
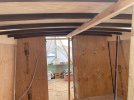
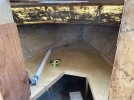
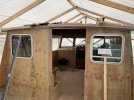
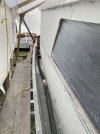
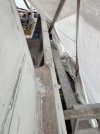
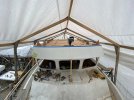
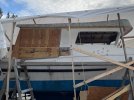
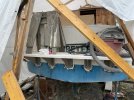
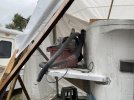
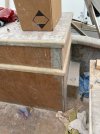
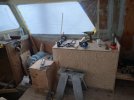
I really like how you tackle things a lot like how I think. Done right and twice as strong as normal. Overbuilt is key for successful engineering. I built this post and beam setup. I rigged this frame for a shelter to support the tarp but it also doubles as a engine lift if I put a 6x6 beam across. the left post fits between the kicker and main so i can back up all the way.New tanks in place and covered up. 2 aluminum fuel tanks and 2 stainless water tanks. Trying to move a bit of weight further back. It’s a bit heavy in the nose.
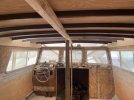
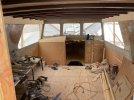
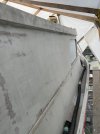
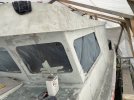
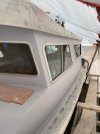
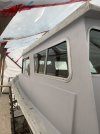
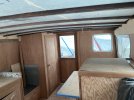
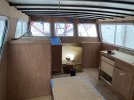
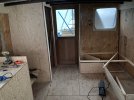
Did a quick coat of gel coat on the cockpit as well to clean things up.
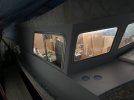
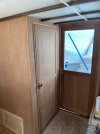
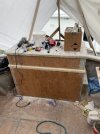
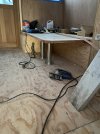
We also have the cabin floor done but I forgot to take pics. Now we have a flat spot work off of!!


Amazing stuff. Thanks for taking the time.That’s all I have for pictures for now!!
Yeah, it looks great, nice to see people doing a proper rebuild, looks like it's going to be a beauty!Amazing stuff. Thanks for taking the time.
")
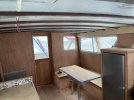
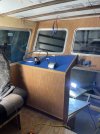
That would be great to have. Not quite enough depth on this one to put one in. Would need to lift the floor another 12" or so to make it viable.I worked on a couple of the 34 Ft. DE's many years ago,didn't know they made a 30,hull looks the same.The 34's had a stateroom on the port side under where your settee is,it was a great setup.